

Boost Your Jamstack Site: Create a Content Site with VitePress
If you are in need of a good content site that has great markdown plugins, then read about how to you can create great content with VitePress.


Introduction
So just before I dive into this article, I did want to mention that I am doing a countdown of my favorite Jamstack tools, frameworks, and static site generators/CMS (anything from the Jamstack ecosystem really) and writing an article about how to make something awesome with that tool/configuration of tools.
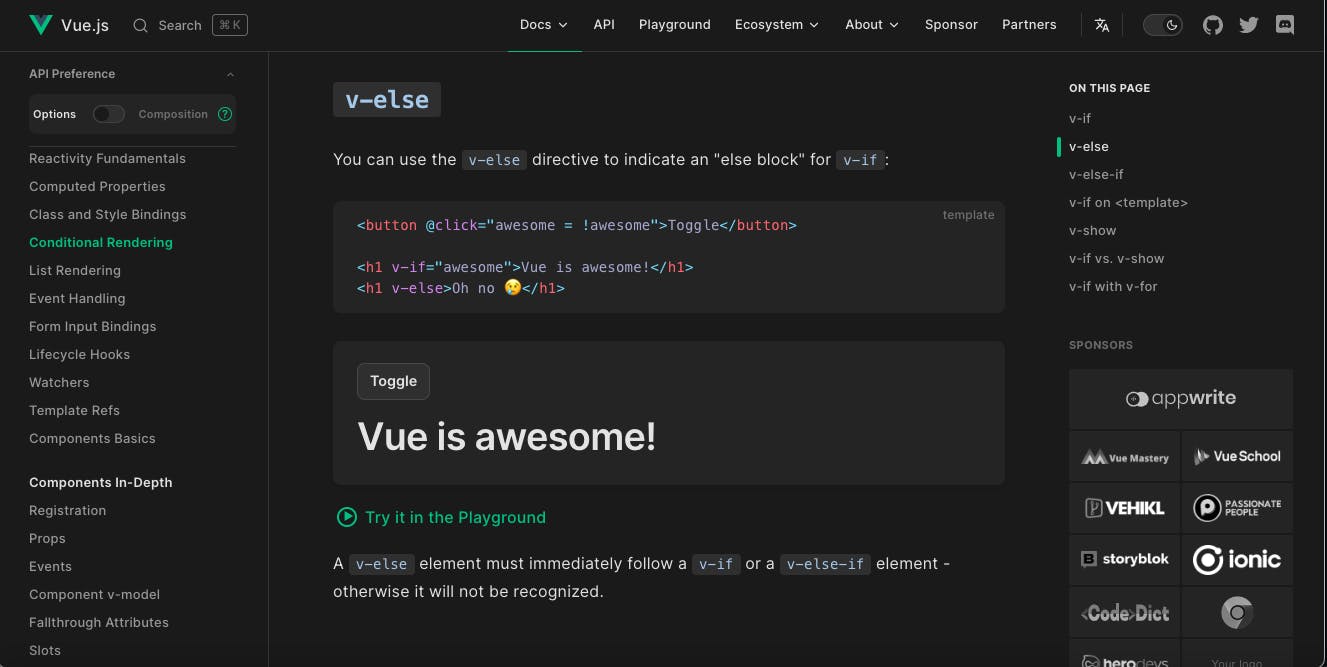
I'd like to get started with VitePress, the younger cousin of VuePress 1 & 2. I feel like VitePress is not given enough credit amongst the more popular SSGs in the Jamstack realm, but I really enjoy using VitePress as a writer and as a developer which makes it a top choice for content websites. The Vue 3 documentation site is made with VitePress so you can be sure it is solid in production.
Today I am going to show you how simple it is to create a content and/or documentation site with VitePress and you are going to love it - I promise. Why? Because you really don't have to use much JavaScript and get to use lots of markdown with the markdown plugins. We'll use MDX to create any components as a matter of fact. Markdown + Vue makes for a wonderful combination - VitePress markdown extensions actually allow you to write Vue syntax in your markdown components.
Without further ado, I bring you VitePress!
Getting Started
There is a manual quick start that you can do yourself, but I am completely skipping that for sanity's sake. You can try it out on Stackblitz here and work straight from the browser or if you'd prefer to do this tutorial locally, follow along with me below.
Let's go ahead by starting with installation and initialization commands on the CLI to download our project, and dependencies, and answer some configuration prompts:
// Return to your base directory
$ cd
// Make project directory
$ mkdir geaux-vitepress
$ cd geaux-vitepress

// Install VitePress
$ npm install -D vitepress //  yarn add -D vitepress

// Initialize your project
$ npx vitepress init

  vitepress v1.0.0-alpha.75

┌   Welcome to VitePress!
│
◇  Where should VitePress initialize the config?
│  ./docs
│
◇  Site title:
│  Geauxs VitePress Tutorial Site
│
◇  Site description:
│  Makin it for all my people on Hashnode - represent!
│
◇  Theme:
│  Default Theme + Customization
│
◇  Use TypeScript for config and theme files?
│  No
│
◇  Add VitePress npm scripts to package.json?
│  Yes
│
└  Done! Now run npm run docs:dev and start writing.

Tips:
- Since you`ve chosen to customize the theme, you should also explicitly install vue as a dev dependency.
As you can see, there are some questions that you need to answer to get your project set up. These are just a few configuration-based questions that will feed into your project files so you have some data to operate with when you pull up the project directory and files - speaking of which, here is what you'll get out of the box:
.
├─ docs
│  ├─ .vitepress
│  │  └─ config.js
│  ├─ api-examples.md
│  ├─ markdown-examples.md
│  └─ index.md
└─ package.json
After you answer the questions you can run your dev server with either of the following commands:
// starts the dev server at http://localhost:5173
npm run docs:dev

// starts the dev server as well
npx vitepress dev docs
Go ahead and look at localhost:5173 and you're all set up to start working on your VitePress site. Wow, that starter is one of the best out there on all SSGs in my opinion!
Customizing Your VitePress Site
Now that you have your VitePress site set up and running, let's customize it. Open the .vitepress folder in your project directory and locate the config.js file. This is where you can modify the site's configuration, like the title, description, and theme settings. For example:
module.exports = {
  title: 'My VitePress Digital Garden',
  description: 'A place to grow my thoughts and ideas.',
  themeConfig: {
    nav: [
      { text: 'Home', link: '/' },
      { text: 'About', link: '/about' },
    ],
  },
};
Creating Content
To create content, use Markdown files in the docs folder. By default, VitePress will generate a page for each Markdown file in your project. To create a new page, simply add a new Markdown file in the appropriate directory.
For example, create an about.md file in the docs folder:
---
title: About
---

# About Me

I'm a developer and writer, passionate about sharing my knowledge with others. In this digital garden, you'll find my notes, thoughts, and ideas on various topics.
We'll want to create our notes page and render out all of our notes onto the page fo